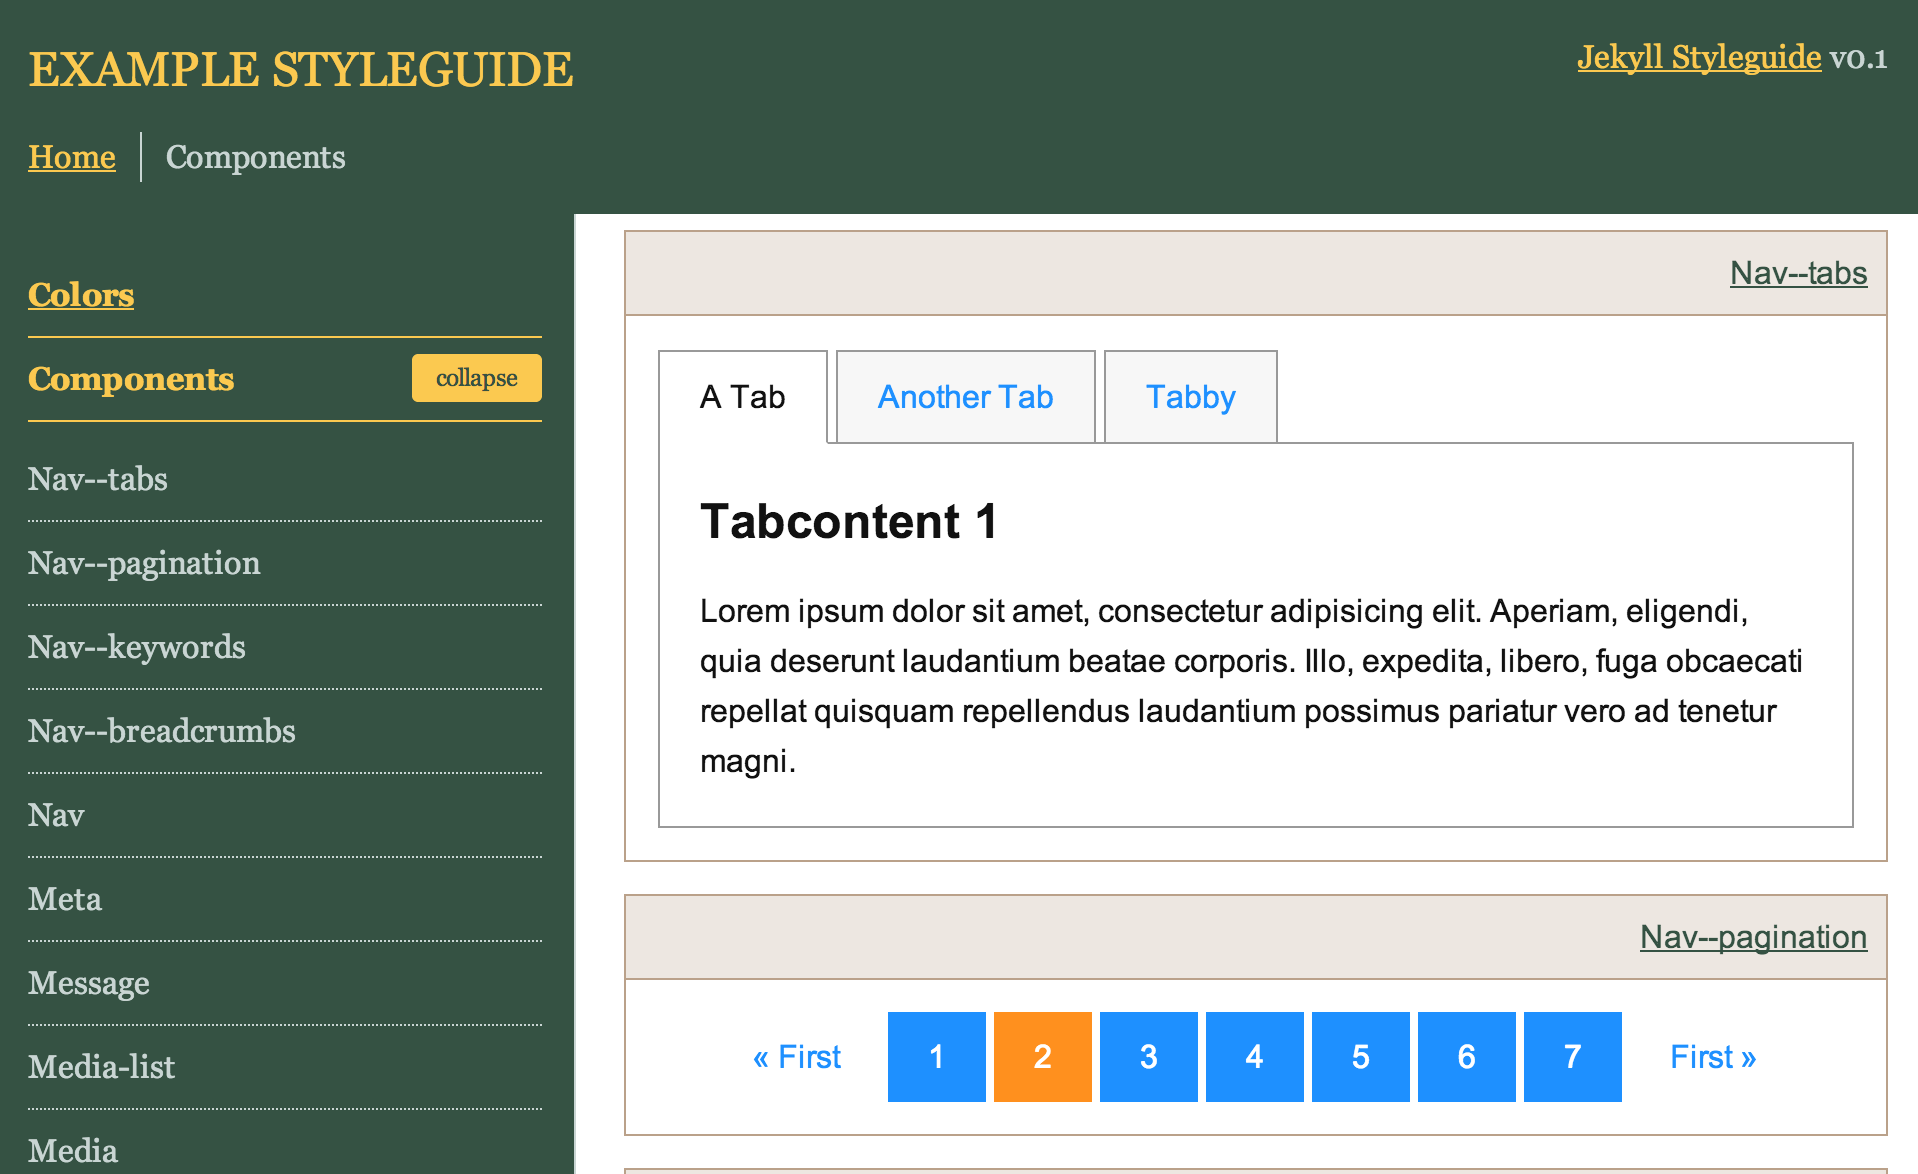
A Jekyll CSS Styleguide
Tired of updating a collection of screenshots (PSD/PDF) to show new website components? Remember the horror that was homepage.v2.REVISED.UPDATED.psd? You need a ’HTML/CSS Styleguide‘…
Manually editing HTML and CSS files is hard work. This is where Jekyll-Styleguide comes in.

Jekyll’s main focus is to quickly setup a weblog, but we can use it to create a collection of HTML and CSS components just as easily. Now, to add a new Component, simply create a new markdown (.md or .html) file with the HTML for your component in the posts/components folder and run jekyll build (or use the included GulpJS script).
Then add your project’s CSS file to Jekyll Styleguide (or @import is in its app.scss) and see how these components render.
Table Of Contents
Overview
- Creates a simple Pattern Library of HTML components in
posts/components. @importyour Sass files instatic/scss/app.scss- …or just add
your.cssto_includes/head.html
- …or just add
- Source Highlighting through PrismJS
- [Optional] GulpJS workflow (compile Sass, concat and autoprefix, auto-run Jekyll)
- [Optional] Themes: see
static/scss/themes/
Requirements
Jekyll requires Ruby, Rubygems and a Linux, Unix or Mac OSX system. If you do not yet have those installed—and are on Mac OSX—I strongly advise you to install those as follows:
- Make sure you have the OSX Xcode Command Line Tools installed
- Install Ruby via RVM:
\curl -sSL https://get.rvm.io | bash -s stable
Installation
Now you should have all the requirements for installing Jekyll. The GulpJS workflow requires NodeJS, NPM and a bunch of Gulp plugins. But let’s ignore those and start simple, OK?
- Install Jekyll:
gem update --system && gem install jekyll - Download or
git clone git@github.com:davidhund/jekyll-styleguide.git - Add your colors in
colors/index.md - Add your components in
posts/components/ - Run Jekyll:
jekyll build --config=_config.dev.yml - Go to
4.and repeat
Usage
Take a look at the _config.dev.yml (_config.yml) to set some global variables such as the baseurl, name and version of your Style Guide, a link to the repository etc.
Gulp
I’ve added an experimental GulpJS workflow—GruntJS should be very similar—to automate re-generating the Styleguide, while compiling your Sass files, Concatenating your JS, etc.
To install and use Gulp (you should be at the root of the project, in a command prompt):
npm install -g gulpto install Gulp globallynpm installto install all needed Gulp plugins- Simply run
gulp: this fires up a local webserver and watches your Sass, JS and components. - Now go change some files, save, and watch your browser autoreload ;)
Troubleshooting
- Using the Gulp task, sometimes
jekyllchild processes crap out and keep running (multiple) in the background. This could cause issues. One way tokillall of those child processes, and start over, is to stop the Gulp task (CTRL+C) and do:ps aux | awk '/jekyll/ {print $2}' | xargs kill
Check out the defined Colors or Components